The Fine Things are Always Hand Made
Nathan's Allwave Deluxe / Lido
Hi all! So I'm the proud owner of an Allwave Deluxe that I picked up at the NWVRS swap meet last weekend near Portland, OR.
I'm not new to restoring antique radios - but this is my first EH Scott. I'm sure I have a ton to learn about these radios and it sure looks like I've found the right people to learn from!
So first things first - the serial number is U 226:

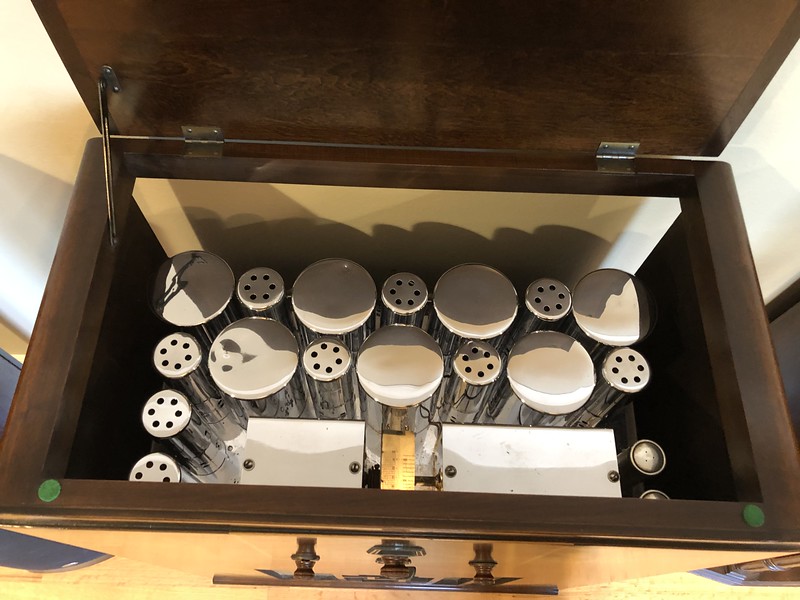
Cabinet
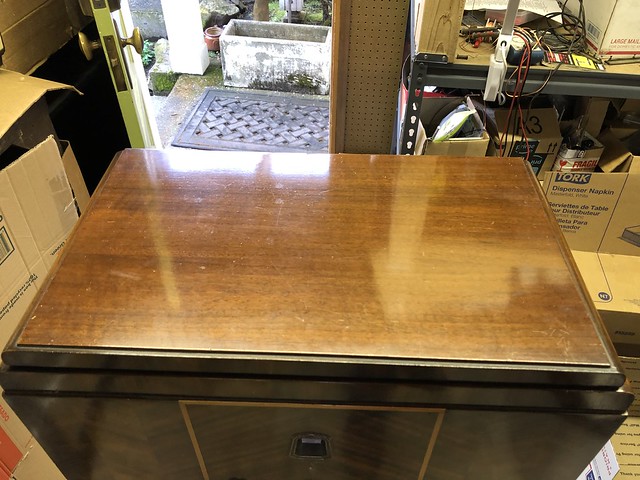
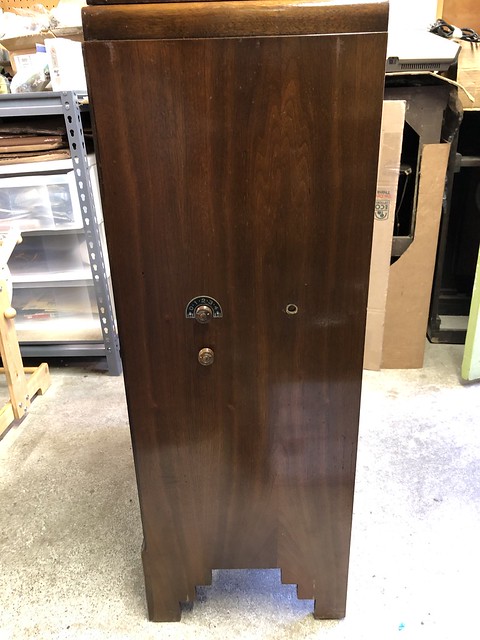
The radio came installed in a "Lido" cabinet:

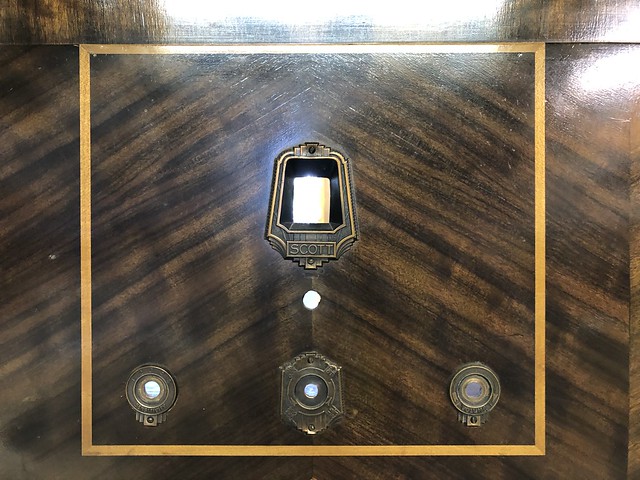

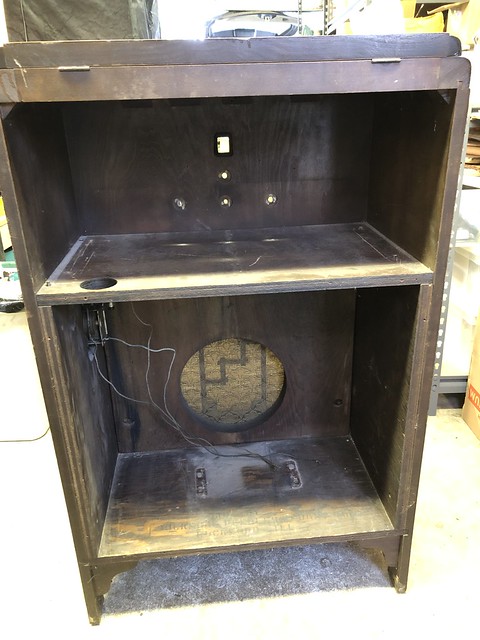
The inside of the cabinet appears to say: "Made By Rockford Peerless Furniture Co, Rockford Ill":

Main Chassis
Photos of the radio itself:


From what I've read this chassis is the later model and should have the tuning meter - but mine doesn't have one. I assume that's a modification?
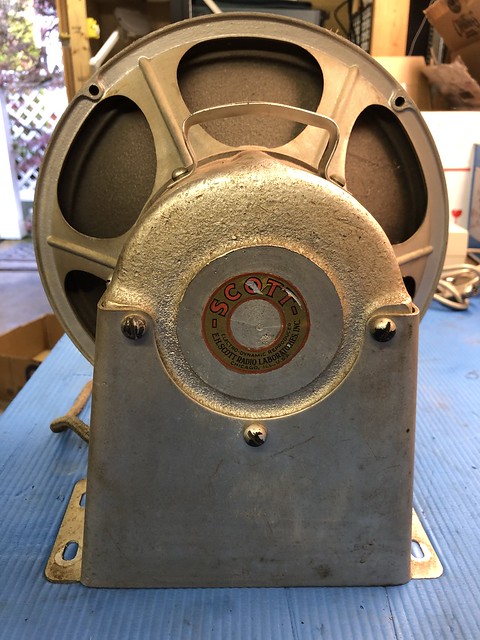
Speaker

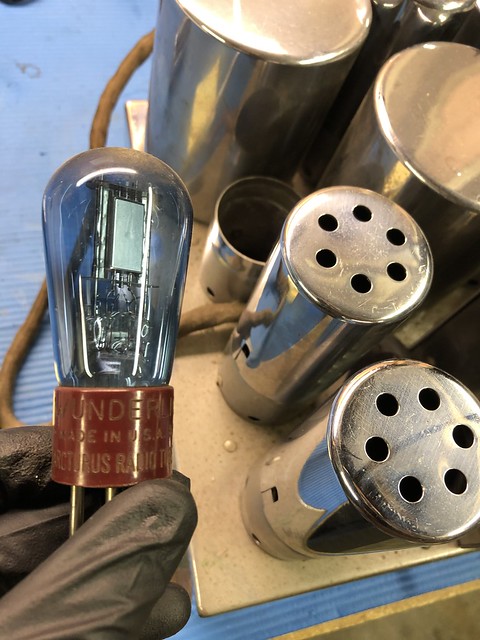
Power / Amp Chassis


The previous owner used 2A5 -> 45 adapters. I've got some actual 45 tubes to put there.
Miscellaneous
This is a shortwave addon?

Replies to This Discussion
-
Permalink Reply by David C. Poland on
-
Good news that your radio played during the test power up.
As per Mike's comment, on my AW-12, that stiff wire is secured to the back of the bottom of the dial mechanism.
The stiff wire is supposed to be "L" shaped at the top and adjusted so as to cast a horizontal shadow onto the opaque white dial strip to show the dial setting. The horizontal shadow is stationary while the turning the dial knob, as the dial strip rotates up or down past the shadow. The horizontal shadow should appear about mid way in the dial escutcheon when the radio is in the cabinet. When you have that shadow where it should be, then it is time to make final dial calibration. Changing the dial lamp position on the stalk affects the shadow of the dial. My AW-12 is very accurate from end to end of the broadcast band.
The meter shadow (when you obtain a meter) will display as a small vertical shadow above the horizontal shadow. The dial light may need adjustment to control where the shadow falls on the dial strip. The tuning meter needle shadow moves left or right to indicate signal strength.
-
Permalink Reply by Nathan Slingerland on
-
Thanks Mike and David.
I measured the remaining bit of tuning indicator wire as 0.64mm (=0.0252") in diameter. I ordered a 10ft length of Size 11 piano wire (0.026") from eBay.
Here is what I fashioned:
And here it is installed: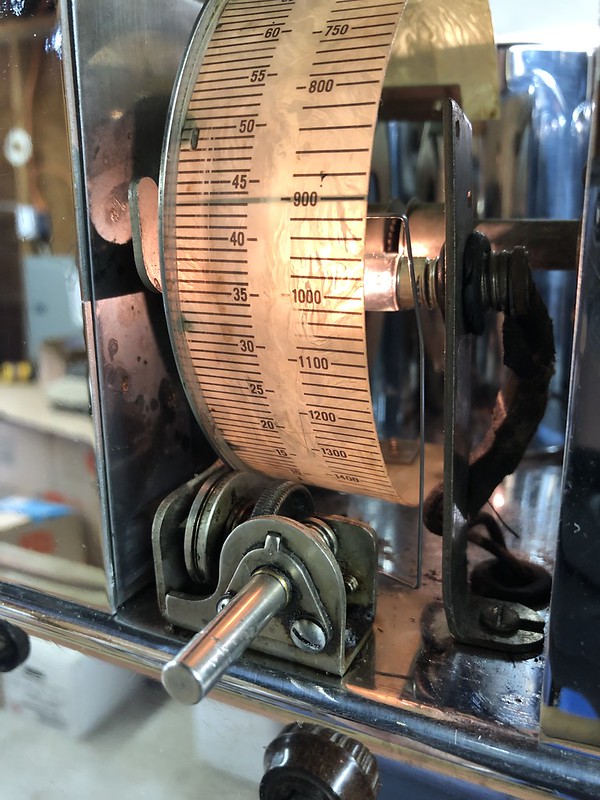
BTW - I had plenty of wire left over so if anybody needs a length of it just let me know - happy to share.
I'm still missing the tuning meter of course - will post a wanted ad for that, although if it's anything like with the shadow meters Philcos they're not all that easy to come by on their own.Finally, here's the AllWave Deluxe all shined up and put back together and installed in the Radio Room:


-
Permalink Reply by Robert Feenstra on
-
That Looks awesome, Nathan! I hope it sounds that way as well.
-
-
Thanks Robert! Yes - it's a very sensitive set and sounds great. I'm really enjoying it now that it has moved from the workshop to the house. :)
-
-
Just started on the Philharmonic I purchased from Ron. That'll be a big project!
-
-
Awesome! Now that will be an amazing radio when it's all fixed up! I'm Looking forward to following your progress.
-
Permalink Reply by Jon Ketron on
-
Nathan,
Great job on your AW-12 restoration. I am very impressed with your attention to detail. Very impressive you took the time to make a new dial pointer. It looks spot on to the original!
Jon
-
-
Thanks Jon!
I'm happy with how it turned out.
-
Permalink Reply by Stuart Smolkin on
-
Nathan, my name is Stuart and I am the curator of the Asheville Radio Museum (avlradiomuseum.org). I stumbled on this post of yours and am hoping you might be able to help me a bit.
We had purchased a Scott AW12D a while back. It appears to be a later model (i. e., it has an AVC with Wunderlich tube and the rectangular plug has a connection on pin 6). From your post, it appears you also have a later model.
We just recently purchased a Scott speaker that looks identical to yours. But, we are not sure that this "early" field coil speaker will work with our "later" AW12D chassis. Apparently this setup works in your radio and came this way from the factory.
So, here are my questions, if you are willing and able:
1. Is there a wire and/or capacitor connected to pin 6 of your rectangular jack on the power pack?
2. Is the field coil of your speaker connected to the two fat speaker plug pins? What resistance do you measure? (Ours measures around 780 ohms),
FYI, we had plugged in our speaker while carefully monitoring amperage and bringing up voltage slowly. It seemed to be working perfectly. But, after powering down and slightly later up again, we discovered the 80 rectifier had gone dead and one of the electrolytic capacitors had shorted out. We don't know (yet) whether this failure was a coincidence or caused by our testing the newly acquired speaker.
Thanks in advance for any reply.
-
-
To elaborate, there are 2 field coils. The fat pins are for the field coils at about 675 ohms. The second field coil is about 2500 ohms pin 3 to pin 2. See the Riders diagram for the amp for the Scott Deluxe.
The Scott Allwave Deluxe is Deluxe because it had single dial tuning. Scott was a custom set builder, and so he was making revisions to the circuit and tube choices chasing performance improvements during the 2 1/2 year production run.
The original filter caps should be replaced before powering up. The several metal bath tube caps inside should also be replaced, except the 3 over sized metal caps inside the rear apron are probably ok - as they are in low voltage applications and the small coils inside with the cap provide a complication. I have restored several early Scott models and leave those 3 metal encased caps alone.
- ‹ Previous
- 1
- 2
- Next ›
© 2026 Created by Kent King.
Powered by
![]()